How To 3D Print From FUSION 360 – Features Explained
Fusion 360 is one of the most top-rated choices for creating 3D models and designs due to its advanced features and easy-to-use and understand interface.
Fusion 360 is best 3D modeling software, allows you to work on minor details of the object, thus creating the perfect quality output.
If you want to get an experience of this amazing software, continue reading this article till the end, and you will have sound knowledge of the software to design your first model on Fusion 360.
Fusion 360
Autodesk’s Fusion 360 is a cloud-based CAD platform that allows you to create, develop, and design your products. It consists of all the latest features and characteristics, which makes it the preferred choice for many in the industry.
Fusion 360 offers different packages so that you can work with it without facing any problem. It includes a standard package with a fee and a free 3-year educational license for those who are going to use it for education.
You can get the software from the approved Autodesk website by creating an account. Fusion 360 is applicable to Windows and you can also install it on the Mac Operating system. Once downloaded, click on it to install it on your computer and sign in with your credentials.

Basic Interface of Fusion 360
There are mainly six different workspaces offered by the Fusion 360. Each workspace is made for a different purpose and includes specific options and features. The workspaces are:
- Design
- Render
- Animation
- Simulation
- Manufacture
- Drawing
Tool Bar
The toolbar is at the top of the screen, which shows the main functions of the workspace. Clicking on the function may display a list of commands in the form of a drop-down menu. You can also make to order the toolbar giving to your comfortability.
Application Bar
In the application bar, you will see the options of creating new files, saving a project, open an existing file, etc. it helps in better organization and locating the existing files.
Browser
It is one of the most important sections of the interface as it shows all the related components and features of a design. It is generally showed on the left side of the display.
Timeline
It is one of the unique elements of Fusion 360 software. The timeline is displayed on the bottom of the screen, and it contains a history of the commands and operations that are executed to create a particular design.
It allows you see easily modify the design, locate errors, and to perform any additional operation.
Navigation
As the name suggests, this bar consists of tools to navigate the view, changing style, and other similar options.
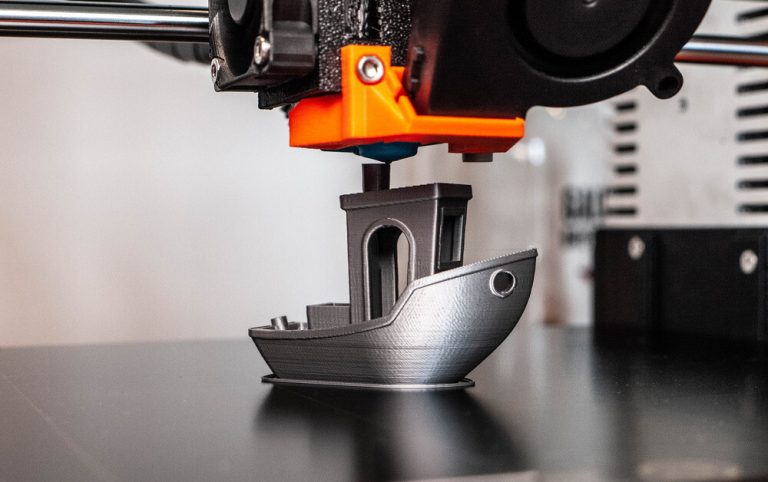
Printing with Fusion 360
Printing with Fusion 360 software is not difficult, and it involves simple steps. To simplify, we can classify those steps into four as drawing of 2D shape, extrusion of 2D Shape, Final touching of the shape, Export to a 3D printer.
Though, there are fundamentals that need to be taken care of when creating a 3D object on this software.
Print Technology
The first and important thing to determine is the print technology you are going to use to design your model. It plays an important role as it helps in shaping the level of accuracy, types, modes, and limitations of the design.
Warping and Wall Thickness
Whether or not you need structural support and the type of technology you are using, warping can affect your overall performance and quality of the output.
On the other hand, wall thickness should be taken care of as too thin can break easily, and too thick will consume more material.
Shortcut Keys
There are few shortcut keys that can be used and are helpful when working with this software. A few of the important shortcut keys are:
- Ctrl+D can be used to duplicate any object.
- Ctrl+G can be used to generate a tool path.
- Shift+S can be used for script and Add-ins.
- Ctrl+L can be used to show logs.
To Print
In order to get working with the software, enter in the design workspace, opens the 3D print menu, and here you will see different options.
Here you can select the model for 3D printing, a checkbox to choose whether you want to see the preview mesh or not, and a number of triangles that are in the model. Increasing the accuracy and efficiency will increase this number.
Other than that, you will see predefined refinement setting classified as: low, medium, and high. The minute you are done with it, you can send the file to the linked 3D printer.
All files will be stores in the cloud and can be accessed from any computer through the website; you can organize your files by opening the data panel in FUSION 360.
Important Features
There are several elements that are helpful in designing a best 3D print model in Fusion 360.
- Surface Tool: The surface tool helps in building a watertight model and also make you capable of repairing the existing 3D models.
- Form Feature: The form consists of complex organic shapes that help you in building organic and creative models for 3D printing.
- Simulation: One of the important features of Fusion 360 is that it allows you to simulate the model; in this way, you can easily locate the errors and weak points in the design and can modify it in this way.